Create a region from a Shapefile
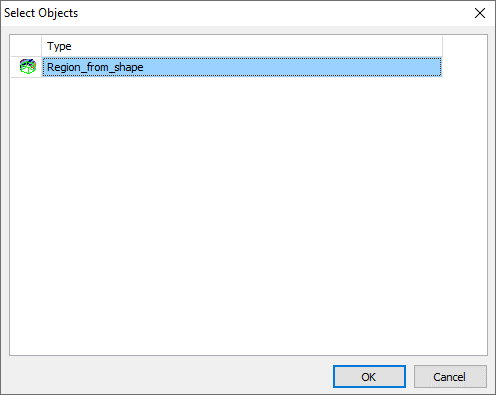
This tutorial will guide you through the process of creating a region from a Shapefile. Further will this tutorial show how to add the new region to the GeoScene3D Toolbox. This can be helpful if you want to use the ‘Blank Grid Using Geometry’ function in the Toolbox.
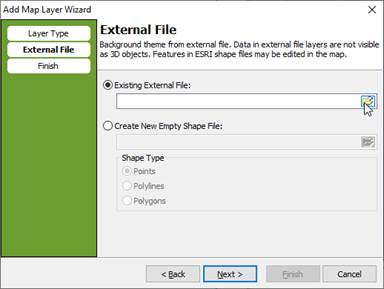
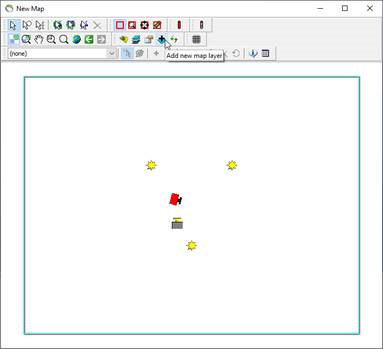
1) Go to the map and ‘Add new map layer’.
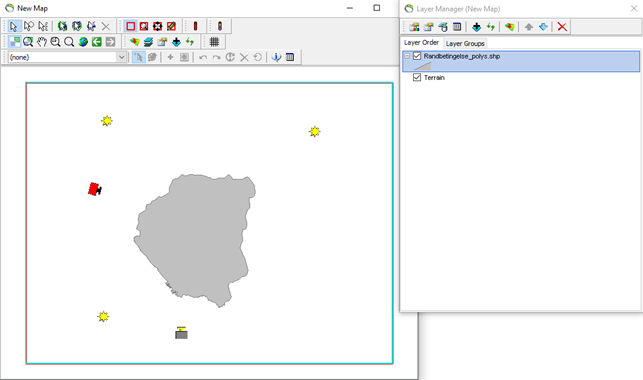
3) The Shape file should be visible at the Map and in the Layer Manager.
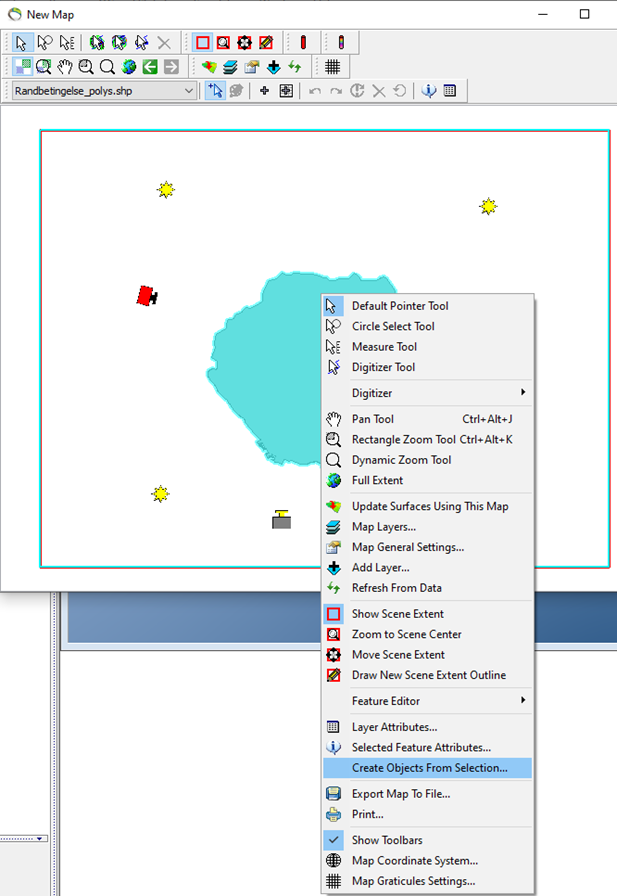
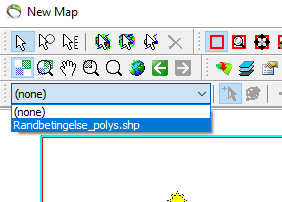
4) Select the Shape file in the drop-down menu.
5) Left click on the shape file (to select the file).
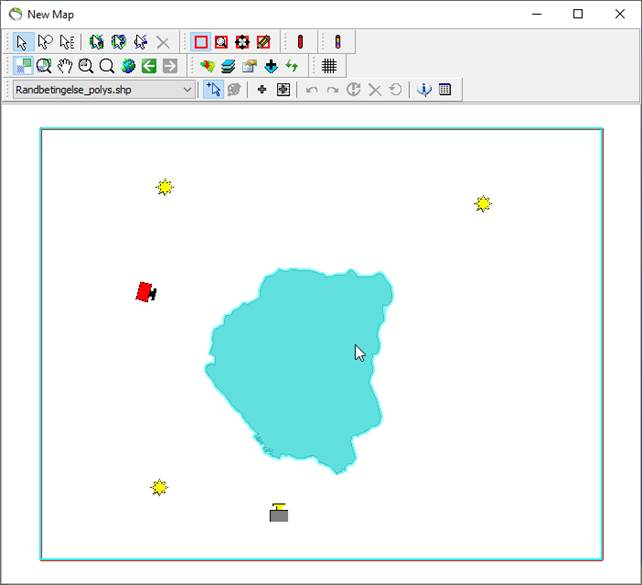
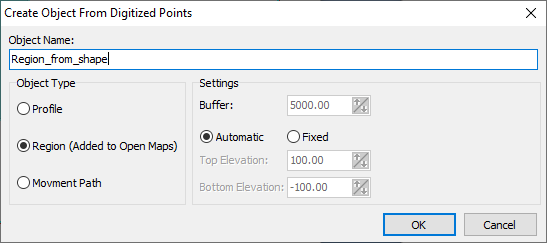
6) Right click on the Shape file and select ‘Create Objects from Selection’.
