This is an old revision of the document!
2D Interpolation (Kriging)
This tutorial will show how to interpolate point data to a 2D Grid Surface using Kriging. The tutorial shows how Kriging is done in GeoScene3D but does not explain the Kriging algorithm.
For more information about basic interpolation and kriging, please look at this presentation.
Requirements
Data
You can use any project that contains XYZ points, e.g., the project you created in the Tutorial “Adding XYZ Points”.
Step 1: Preparations
Step 2: Interpolate
1. Right click the “XYZ Points” node in the Object Manager tree and select “Interpolate…” to open the “Interpolation Wizard”.
2. In the “Algorithm” page select the 2D “Kriging (GSLIB)” algorithm.
3. Go to the “Source Data” page. Press the “Get Data” button. Check the “Point Elevation” radio button and press “OK”
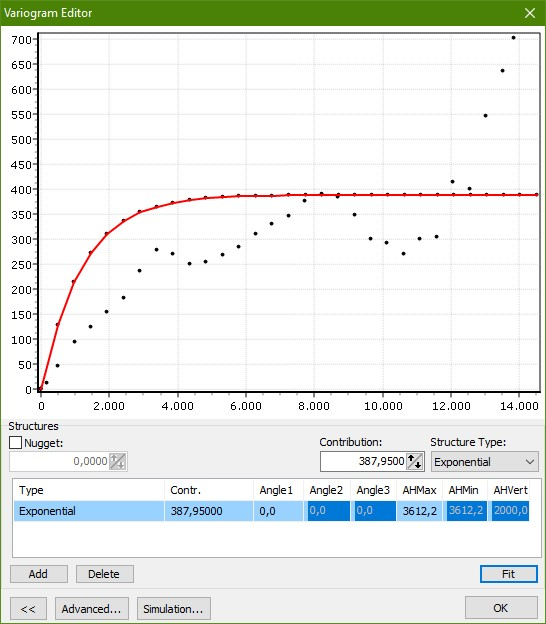
4. Go to the “Variogram” page. Press “Edit…” which invokes the Variogram Editor and a Variogram model is autofitted upon input data.
5. Press the “»” button.
6. In Structure Type, select “Exponential” and press “Fit”.

7. Press “OK” in the “Variogram Editor” to go back to the “Interpolation Wizard”.
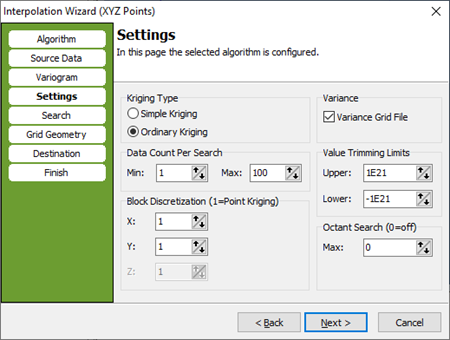
8. Go to the “Settings” page. Check that “Ordinary Kriging” is checked. “Data Count Per Search” should be 1 and 100 for “Min” and “Max” respectively. Set “Block Discretization” to 1 for both X and Y. Set “Value Trimming” to 1E21 and -1E21 for “Upper” and “Lower” respectively. Set “Octant Search” to 0.

9. Go to the “Search” page. Set “Radius” to 500 for both X and Y. “Angle 1” should be 0.
10. Go to the “Grid Geometry” page. In the “Grid Extent” box press the “Scene Extent” button to set grid size to scene extent. In the “Node Spacing” box set the node spacing to 150 for both “X” and “Y” and press “adjust” to adjust Grid extent according to node spacing.
11. Go to the “Destination” page. Select a file name for the created grid, e.g., “[path]\KGLInterpKri.grd”. Enter “KGLInterpKri.grd” in the “Surface Object Name” box. Enter “KGLInterpKri” in the “Grid Dataset Name” box. Select “Surfaces” the Object Group Node.
12. Go to the “Finish” page.
Result
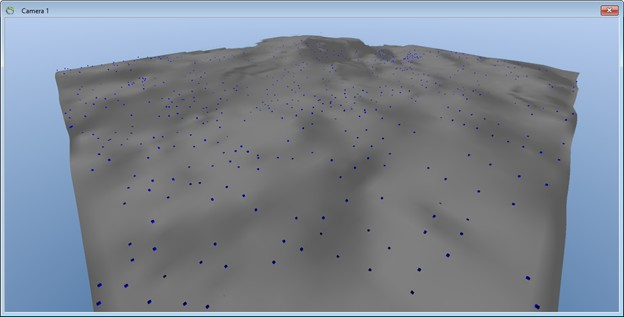
The interpolation wizard is ready to interpolate the points into a KGL grid and the “Finish” page gives a summary of the entered values in the wizard. Press “Finish” to perform the interpolation and to create a new surface object as illustrated in image below.

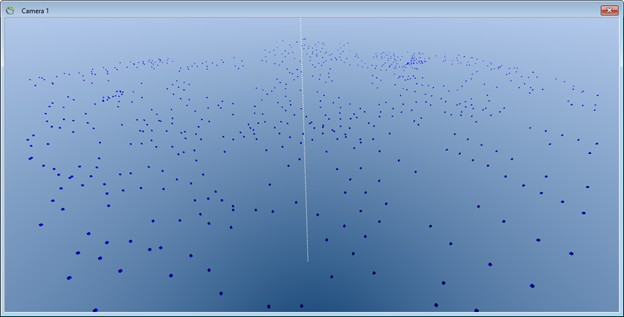
Notice! If the Variance Grid File was clicked, there will be grids in the 3D window. Unselect the 2D grid by unclick it in the object manager tree.

