This is an old revision of the document!
Add Workbench XYZ file to GeoScene3D
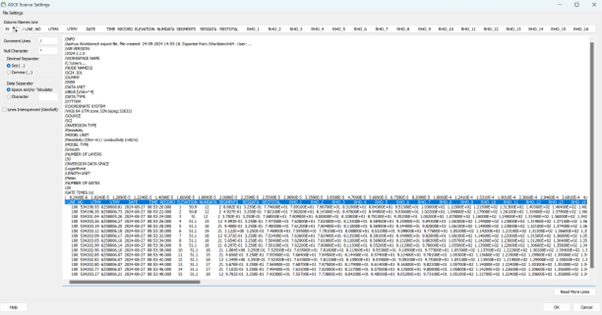
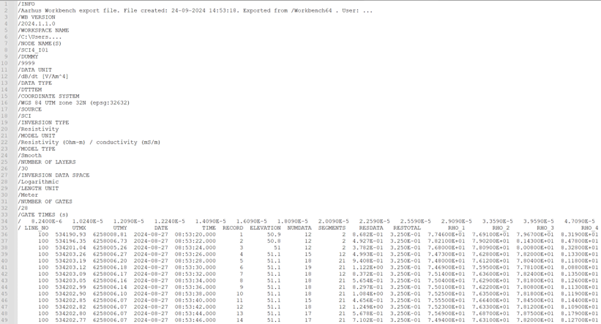
A data file eksported in the 'Workbench XYZ' format, will look similiar to the example below.
For guide to easily import the file, follow the steps below.
Step 1: Start
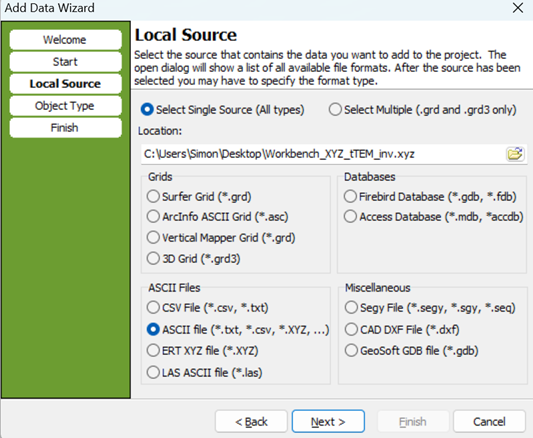
Open GeoScene3D, navigate to the 'Add Data Wizard', and select your file from your computer.
Select ASCII as the file format.
Step 2: File Settings
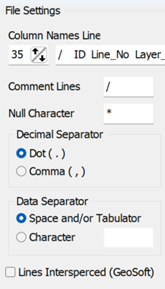
For GeoScene3D to correctly read the file, you must set the appropriate file settings.
The standard settings from Workbench are as follows:
- Column Names Line: 35
- Comment Lines: /
- Null Character: *
- Decimal Separator: Dot (.)
- Data Separator: Space and/or Tab
Step 3: Object Type
Step 4: Assign Fields
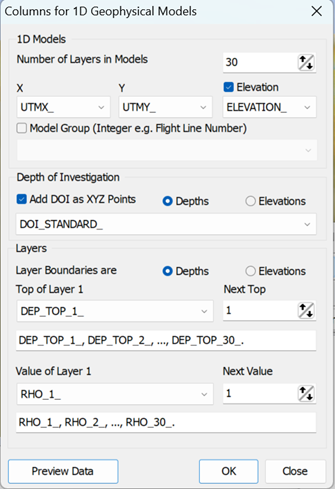
As GeoScene3D now is aware you are trying to import 1D (geophysical) Models, you must determine what fields contains which values.
Go to 'Assign Fields' and slect the columns as shown below.
Be aware your data not nessecaryly contains 30 layers. The numbers of layers i written within the file.

Step 5: Colorscale
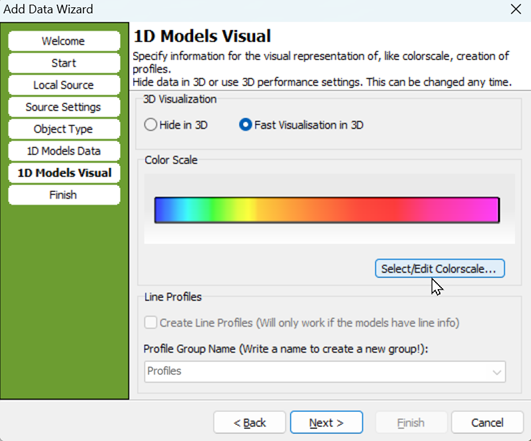
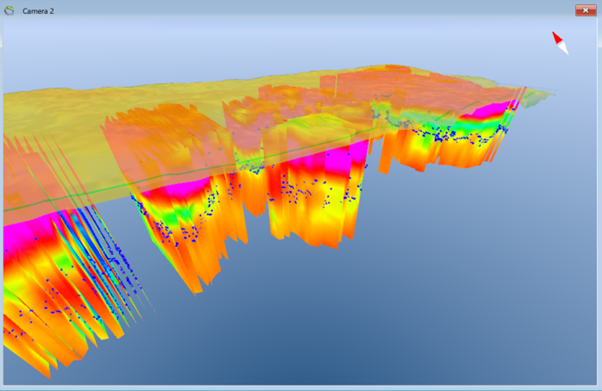
In this step, you can select your color scale. The result shown below uses the default color scale selected by GeoScene3D.
You also have the option to hide your data in the 3D window or create profile lines based on your data.

