Adding Signs
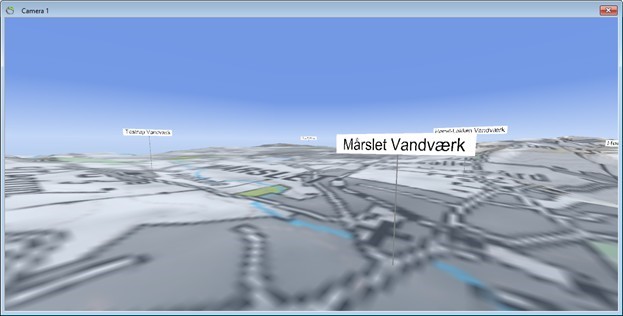
This tutorial will show how to add signs from a CSV file.
Requirements
Data
Open the project you created in the tutorial:Creating a New Project. Make sure your “scene extent” area is located southwest of Aarhus if you load the data described in below tutorial, see e.g. the tutorial:Move Scene Extent.
Step 1. Add Signs
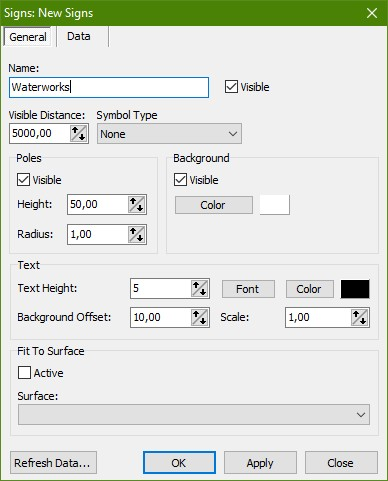
1. Right click the “Objects” node in the Object Manager to show the context menu. Go to the “New Object” sub menu and select “Signs”. The “New Signs” node should show above the “Terrain” node in the Object Manager.
2. Name the object “Signs” in the “Name” edit box, in this case Waterworks.

3. Go to the “Data” tab. In the “Dataset” box press the “Select…” button to open the “Dataset Manager”. Press the “Add” button and the “Dataset Editor” is shown automatically.
4. Press the browse button […] next to the “Location” edit box to show the “Source Manager”. In the “Type” drop down list select “CSV File”. Press the “Locate Source…” button and select the file “Signs.csv” file from the sample data directory.
5. In the “CSV File” dialog that shows make sure that “Delimiter” is set to “;” (semicolon) and that “Decimal Separator” is set to “.” (point) and press “OK”.
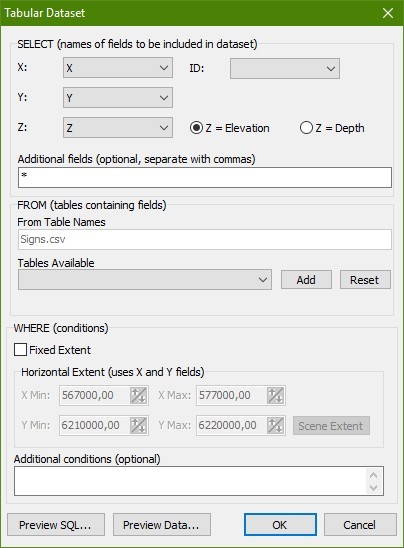
6. Press “OK” to close the “Source Manager”. In the “Tabular Dataset” configuration dialog that now shows enter “X” in the “X:” edit box, “Y” in the “Y:” edit box, and “Z” in the “Z (Optional):” edit box and press “OK”.

7. Back in the “Dataset Editor” name the dataset “Signs”.
8. Press “OK” to close the “Dataset Editor”. Make sure the dataset we just created is selected in the “Dataset Manager” and press “OK”.
9. In the “Signs” property editor select “Text” in the “Text Field Name” drop down list.
10. Go to the “General” tab. In the “Fit To Surface” box select the “Terrain” surface in the drop down list. Make sure that the “Fit To Surface” check box is checked “active” and press “Refresh Data” and then “Close”.

