This is an old revision of the document!
Blanking a region
This tutorial will show you how to use the blanking tools. The tool allows you to blank a region or blank the area around the region.
Step 1. Preparations
1. Open any project, e.g, the project you created in the tutorial: Creating a New Project.
2. The project should contain a map and a few background themes. If there is no map then create a map as shown in the tutorial Add Map Layers. Add Wells and Geophysics to the project as shown in the tutorials Boreholes and Add Geophysics.
Step 2. Digitize region
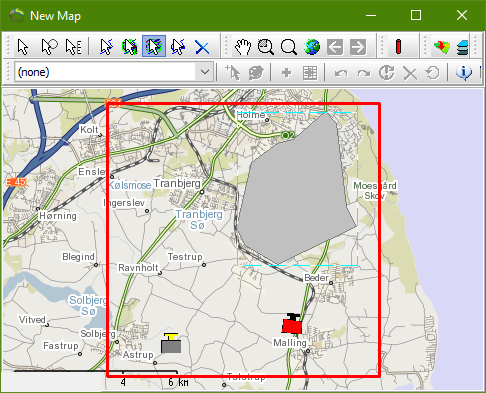
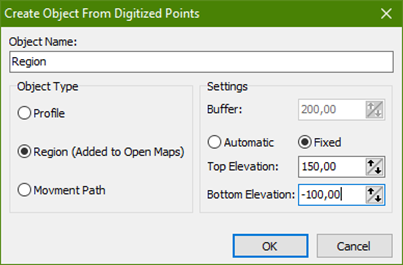
1. Digitize a region on the map or on the 3D surface by selecting the “Region digitizer tool” , as shown in the “Digitize a Region in Map Window”. Give the new region a unique name and try to adjust the top and bottom elevation to the area. Then press OK. The region is now added to the Object Manager and can be found under “Regions”.
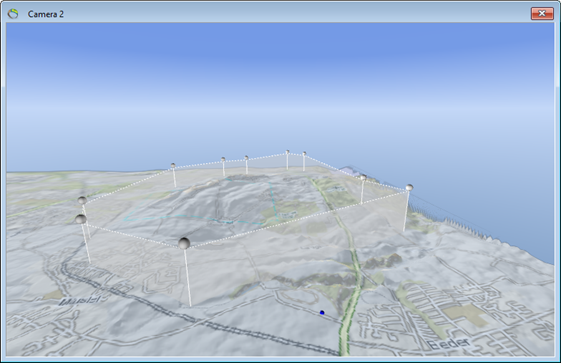
2. The digitized region is shown on the map with transparent fences and pins for every edge and the same region can be added to the map window.
Step 3. Blanking
1. With the blanking tool it is possible to blank the area around the region or inside the region. Try first to blank the area around the region by choosing the “Blanking” tab in the tool bar and select “Activate Blanking (all)”.
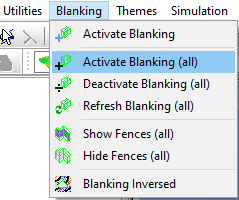
2. You should end up the only your region left.
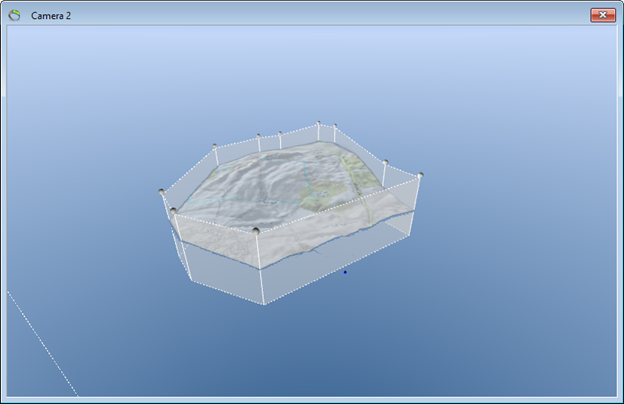
3. Try to select the “Inversed Blanking” and the region will be blanked but the area around the region will stay
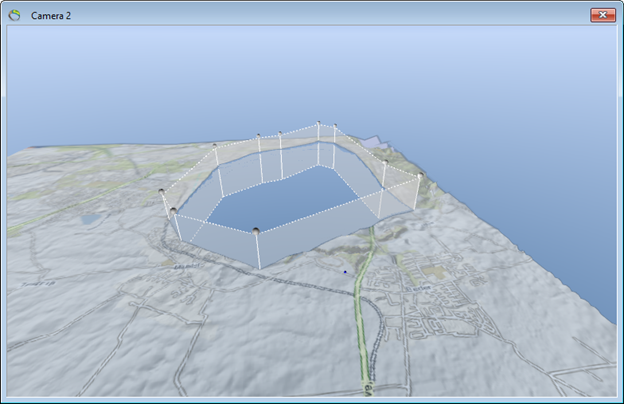
4. To go back you simply choose “Deactivate Blanking (all) and nothing will be blanked.
5. You can do the same if you digitize the region in the map window.

