Digitize a Region
This tutorial will show how to digitize a region in the map window.
Step 1. Preparations
1. Open any project, e.g, the project you created in the tutorial: Creating a New Project.
2. The project should contain a map and a few background themes. If there is no map, then create a map as shown in the tutorial Adding Map Layers. Add Wells and Geophysics to the project as shown in the tutorials Boreholes and Add Geophysics.
Step 2. Digitize Points
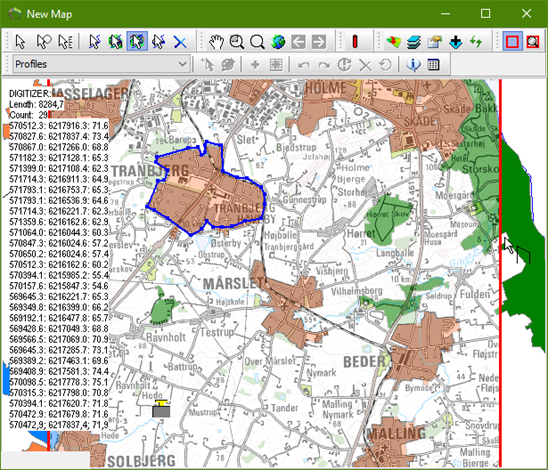
1. Press the “Region digitizer tool“ in the map toolbar. 
2. Digitize a region by clicking the map, blue dots and line in below image, double-click at last inserted node.

Step 3. Create region Object
1. Right click the map window and select “Digitizer” “Create Object From Digitized Points” from the menu.
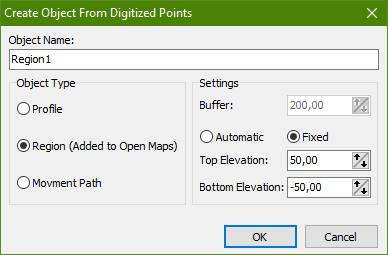
2. Select the “Region” radio button, type in a name for the region and press “OK”.

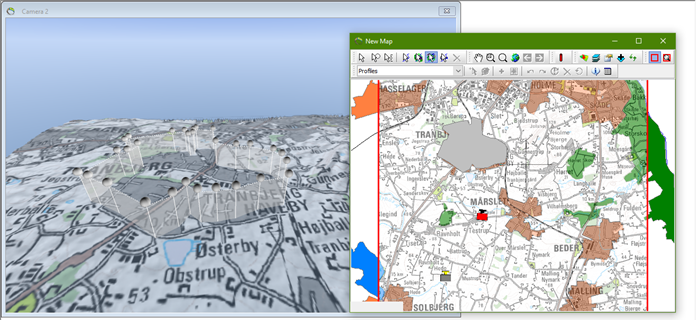
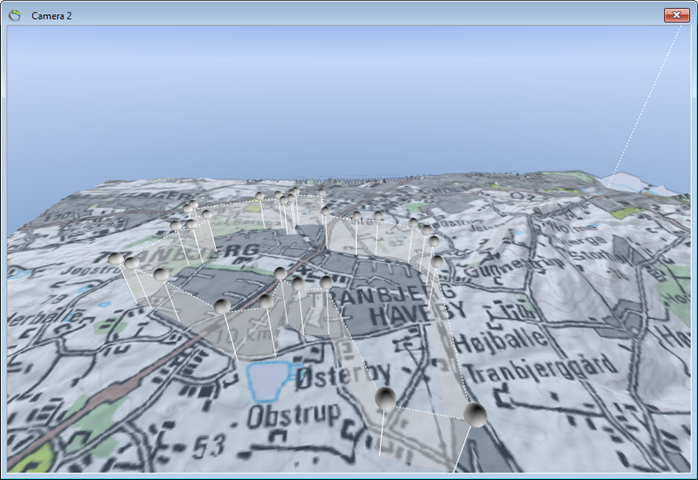
The region shows automatically below “Regions” in the Object Manager and in the 3D camera as in image below, in the 3D Camera and in the map window.


