Digitizing Profiles
This tutorial will show how to digitize a profile in the map window.
Step 1. Preparations
1. Open any project, e.g, the project you created in the tutorial:Creating a New Project.
2. The project should contain a map and a few background themes. If there is no map then create a map as shown in the tutorial Add Map Layers. Add Wells and Geophysics to the project as shown in the tutorials Add Wells and Add Geophysics.
Step 2. Digitize Points
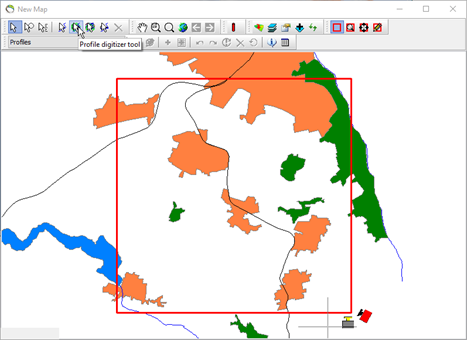
1. Press the “Profile digitizer tool” in the map toolbar.
2. Digitize a polyline by clicking the map.
Step 3. Create profile Object
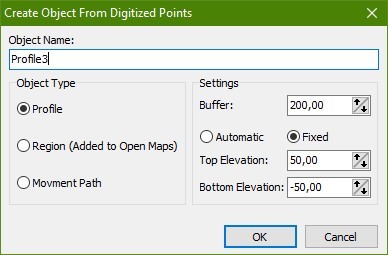
1. Right click the map window and select “Create Object From Digitized Points” from the menu.
2. Or double-click at last inserted node.
3. Type a name for the profile and press “OK” and the profile window shows automatically.
Step 4. Modifying The Profile
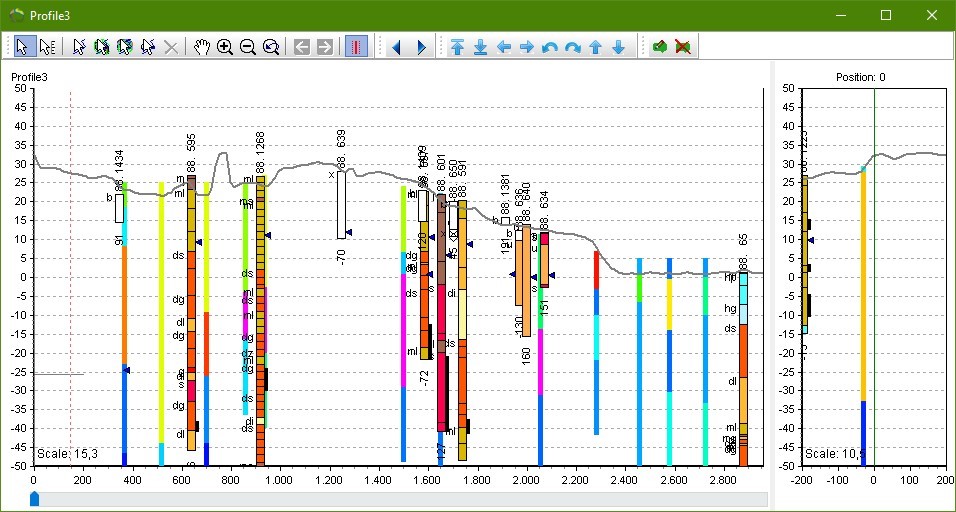
1. Try to drag the slider in the lower part of the profile window using the mouse, you will see the cross section of the profile moving.
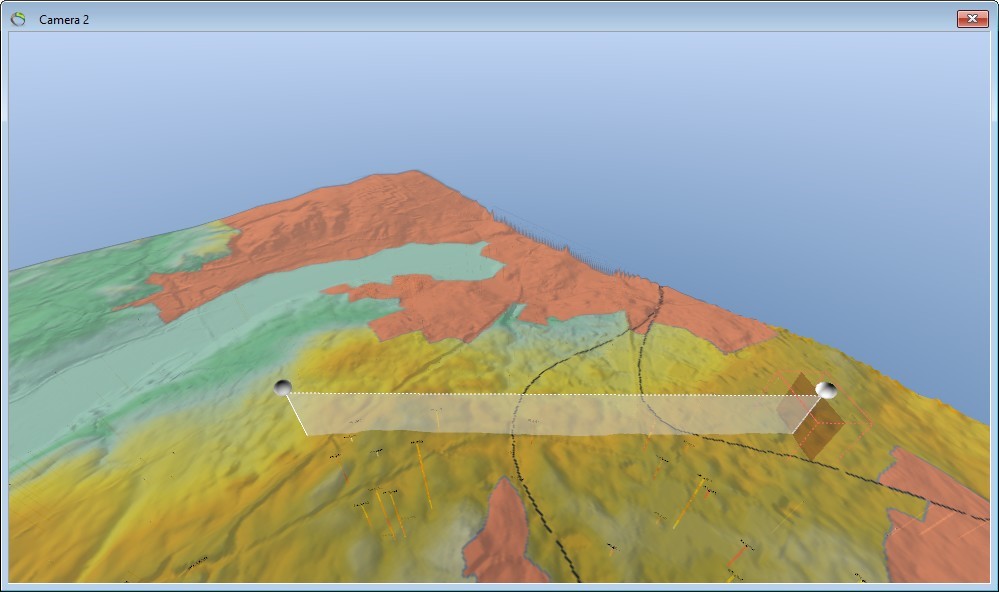
2. Try to drag the profile handles in the 3D window (gray spheres) using the mouse, you can make the profile smaller/larger or move the position of the profile.

3. In the profile window there is a set of blue arrows. These are used to navigate movable profiles with two nodes. Try clicking each of them and watch the profile moving. There are other navigation arrows available in the context menu, right-click on the profile window under “Navigate movable profile”.


