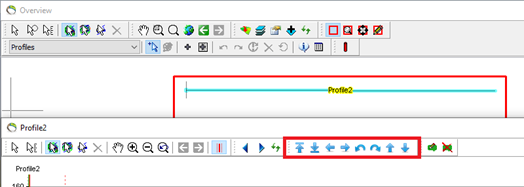
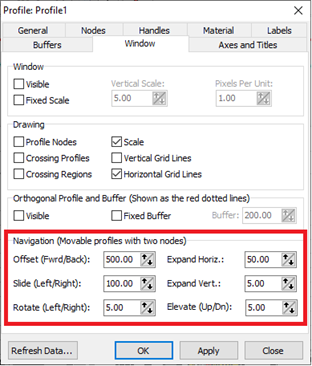
Adjust profile lines
This tutorial describes how to adjust a profile line already defined in GeoScene3D.
Step 1. Preparations
1. Open any project, e.g, the project you created in the tutorial:Creating a New Project.
2. The project should contain a map and a few background themes. If there is no map then create a map as shown in the tutorial Add Map Layers. Add Wells and Geophysics to the project as shown in the tutorials Adding Wells and Adding Geophysics .
Step 2. Manual adjusting of node points
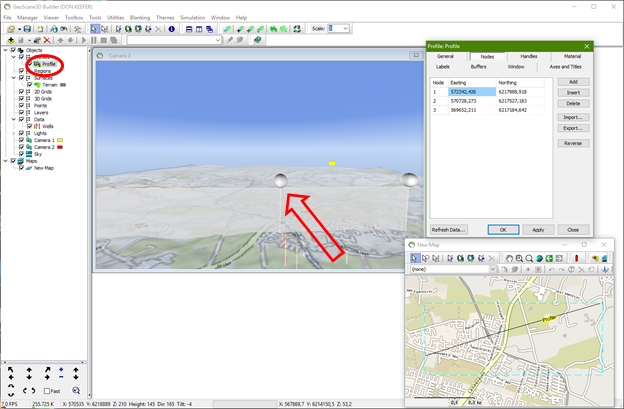
Each profile node can be given coordinates manually by opening the “Object Properties” (right click on the profile in the “Object Manager” - red circle) and go to “Nodes”.
Step 3. Adjusting in 3D window
Profiles are adjusted in the 3D window simply by pointing and clicking on a profile node and then dragging it with the mouse (red arrow).
Step 4. Adjusting on map
Profiles can also be adjusted in the Map Window.
1. In the Map Window, use the “Selectable focused layer” drop down list to select “Profiles” (or the profile group containing the profile line you wish to adjust if renamed). This will enable editing tools in the toolbar.

2. Select the “Select feature and start editing”: 
3. Click on the profile line you wish to adjust.
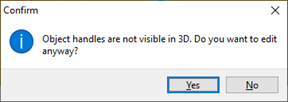
Note: A window pops up, if the object handles are not visible in 3D (default settings). Please press yes, to adjust the profile line.
4. Carefully select the node point in the Map Window you wish to adjust/move with the new mouse.
It is important to be precise in the selection; otherwise, you will add a new point. Hold down the mouse button and drag the node point to a new position. Release the mouse button.
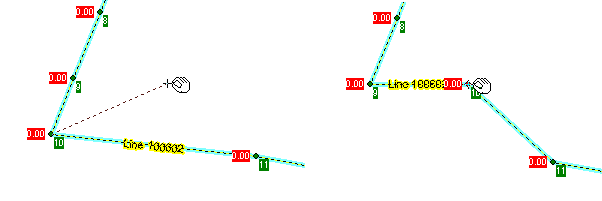
5. When finish moving the node points, press the “Stop editing feature”. Please refresh the map window to see the changes.


