This is an old revision of the document!
2D Interpolation
This tutorial will show how to interpolate point data to a 2D Grid Surface using Inverse Distance Weighting.
Requirements
Data
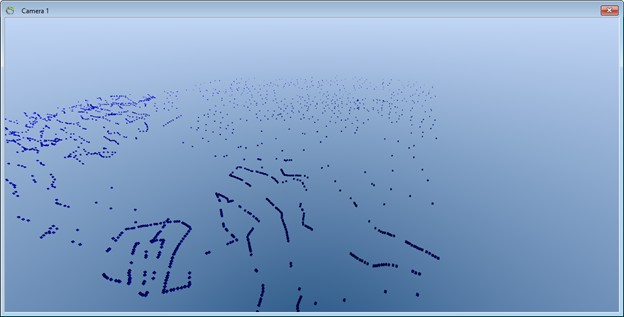
You can use any project that contains XYZ points, e.g., the project you created in the Tutorial “Adding XYZ Points”.
Step 1: Preparations
Step 2: Interpolate
1. Right click the “XYZ Points” node in the Object Manager and select “Interpolate…” to open the “Interpolation Wizard”.
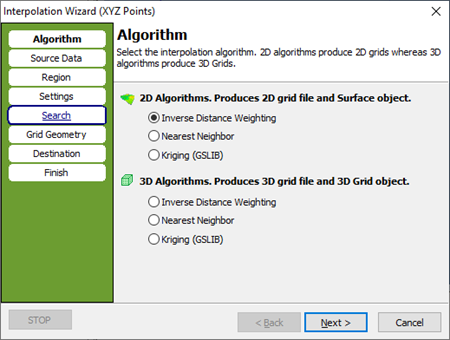
2. In the “Algorithm” page select the 2D “Inverse Distance Weighting” algorithm.
3. Go to the “Source Data” page. Press the “Get Data” button. Check the “Point Elevation” radio button and press “OK”
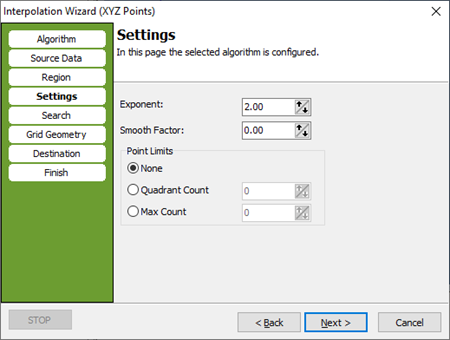
4. Go to the “Settings” page. Check that the “Exponent” is set to 2.
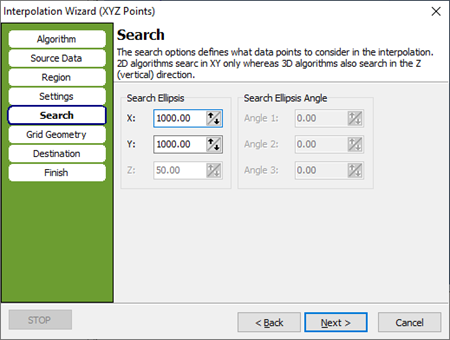
5. Go to the “Search” page. Set “Radius” to 1000 for both X and Y.
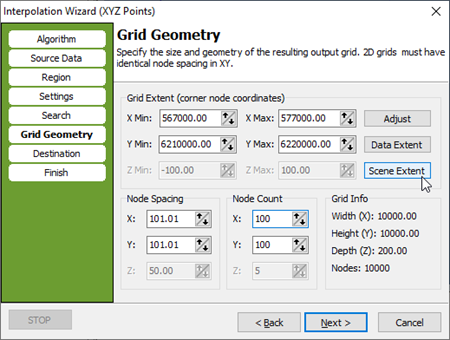
6. Go to the “Grid Geometry” page. In the “Grid Extent” box press the “Scene Extent” button to set grid size to scene extent. In the “Node Count” box set the node count to 100 for both “X” and “Y”.
7. Go to the “Destination” page. Check the “New Surface Object” radio button. Select a file name for the created grid, e.g., “[path]\KGLInterp.grd”. Enter “KGL” in the “Grid Dataset Name:” box. Enter “KGL” in the “New Surface Object Name” box.
8. Go to the “Finish” page.
Result
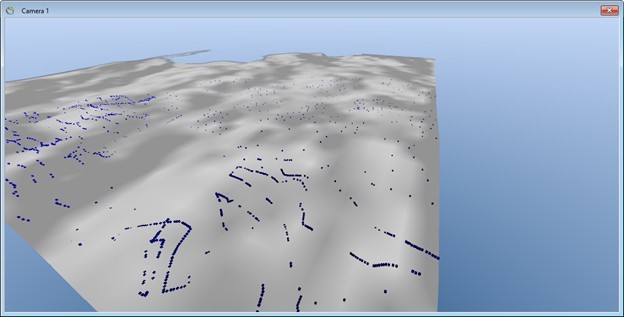
The interpolation wizard is ready to interpolate the points into a KGL grid and the “Finish” page gives a summery of the entered values in the wizard. Press “Finish” to perform the interpolation and to create a new surface object as illustrated in below image.
