
This is an old revision of the document!
Add (multiple) 3D grid
This tutorial demonstrates how to import a 3D grid to your project.
Requirements:
Open any project, e.g, the project you created in the tutorial:Creating a New Project.
Column-based file formats:
- (.xyz)
- (.csv)
- (.txt)
Step 1. Add 3D grid
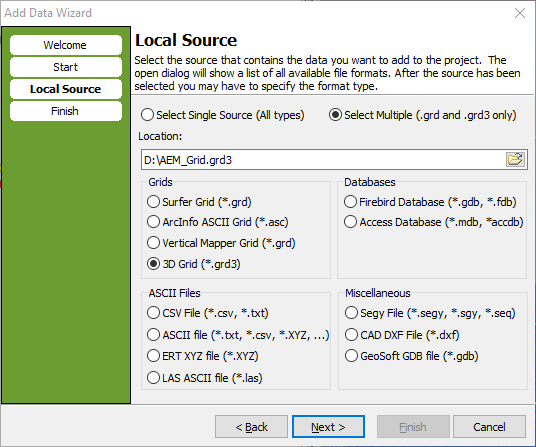
1. “Add data wizard”  → “Select Single Source” or “Select Multiple (.grd and .grd3 only)” → browse to your (.grd3) file → next.
- It is possible to add a single grid og 3D grid or add multiple grids and 3D grids.
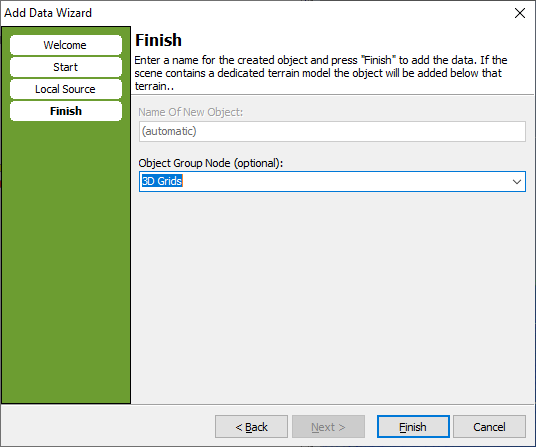
- The name “3D grids” in the “Object Group Node (optional)” is automatic and will appear in the Object Manager after you click the finish button.
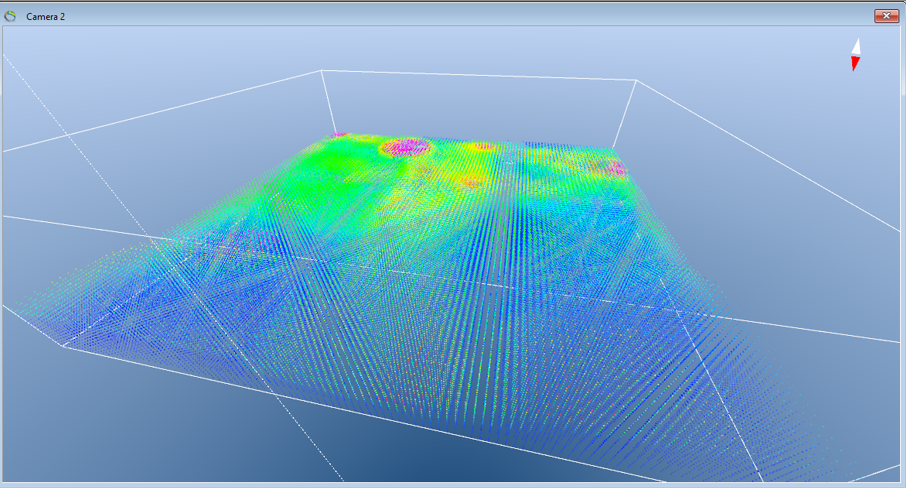
- The 3D grid will look something like this in the 3D window.
Step 2. Change appearance
1. To change the colorscale of the 3D grid, go to the Object Manager and right click on “3D” → “Object Properties” → “Material” → “Color Scale”.

2. To visualize the grid differently you can connect the datapoints in the vertical dimension in the “Nodes” menu → click visible in “Node Cubes” and the before non-clickable grey options are now active “Mesh”. Not mouse clickable (fast)“ and “Not hidden, shell (fastest)”.

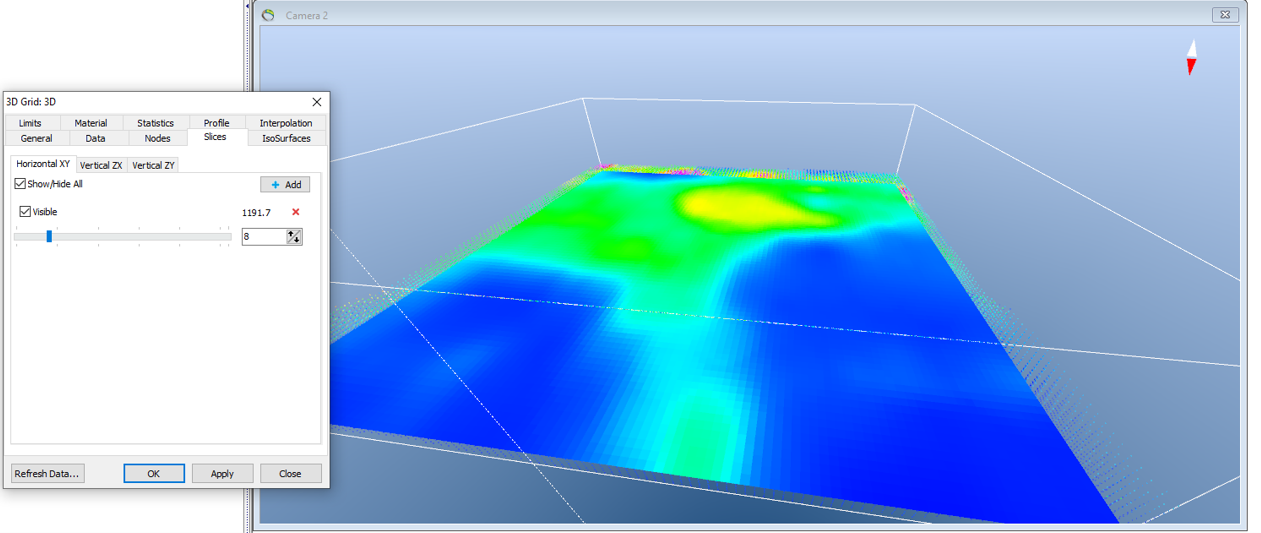
Step 3. Visualize 3D slices
- The grid can be further visualized in all 3 dimensions in the slices menu.
1. Click “Add” and “Show/Hide All” → afterwards the bar can be moved to the left and right that demonstrates movement in the horisontal XY direction. Remember to click “Visible”.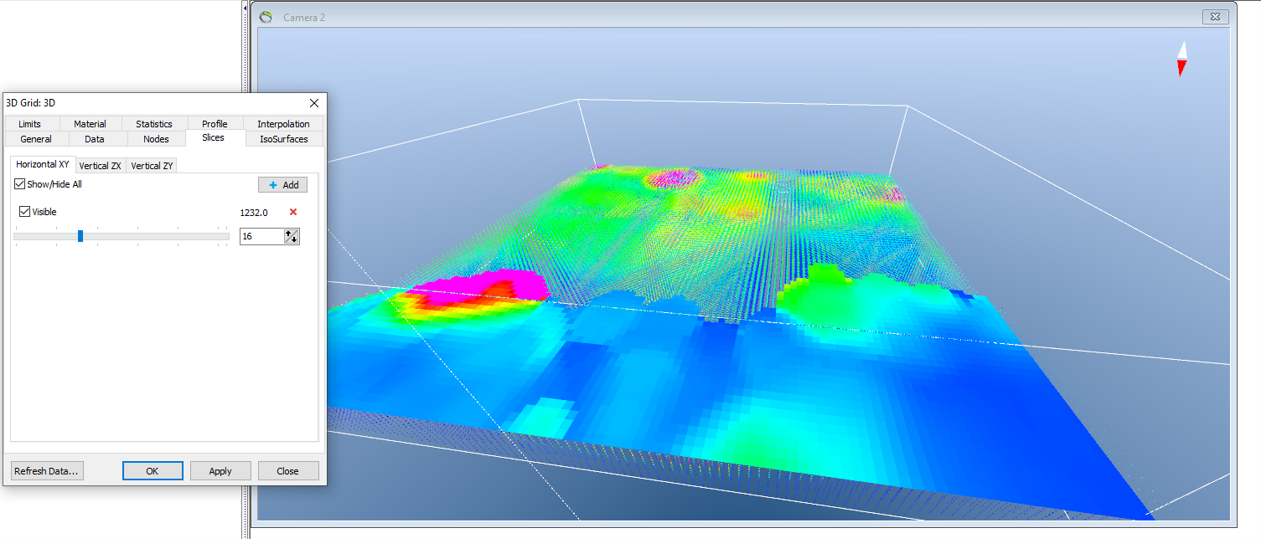
- See picture for change in the horizontal XY direction.

2. Repeat step 3.1. for the two vertical directions.
- See picture for change in the vertical ZY direction.

Step 4. Results
- See picture for change in the vertical ZY direction.
