Create New Project
This tutorial will guide you through the process of creating a new starter project using the New Project Wizard.
Requirements
Data
This tutorial uses a local terrain model grid file. If you do not have a terrain grid you should either prepare a grid file in advance or use the tutorial: Creating a New Project (webservice terrain).
Step 1.
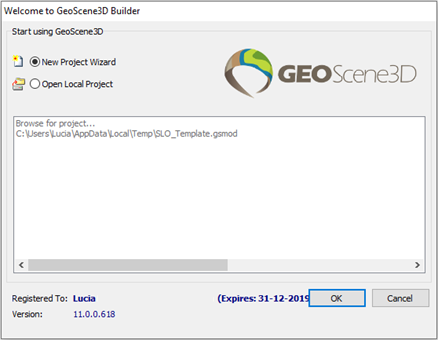
A. If the program is running – select the “New Project Wizard” as shown below.

B. If starting the program - select “New Project Wizard” in the Welcome Screen.
Step 2.
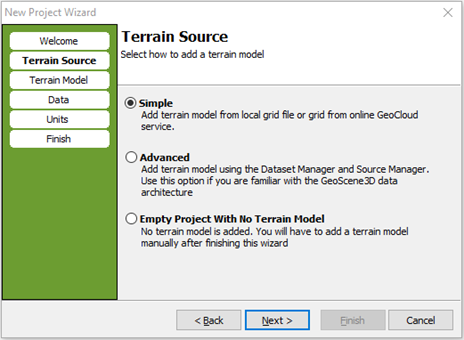
If you have a Terrain grid available – choose “Simple” and proceed to Step 3.
If not choose “Empty Project..” and proceed to Step 4.
Step 3.
Select a local grid file with terrain data, or if available in your region, or select a terrain grid on the GeoCloud Web Service.
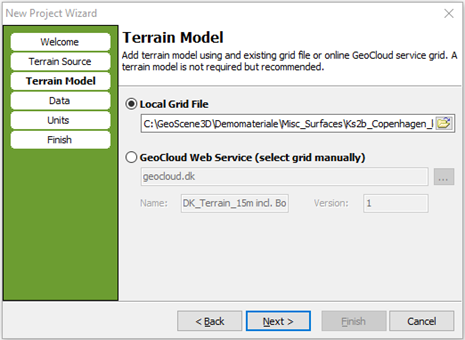
Step 4.
If your modelling data is in Denmark, you now have the possibility to select a WMS GIS map from the GeoCloud Web Service. Otherwise select “None” and press “Next”.
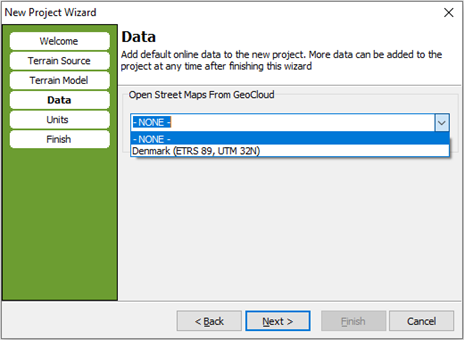
Step 5.
You can define the units in the project. As default the settings are meters, but you can also choose yards, miles, kilometers or feet. It is also an opportunity to add a user defined unit.
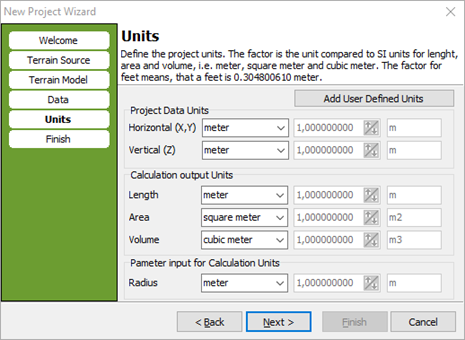
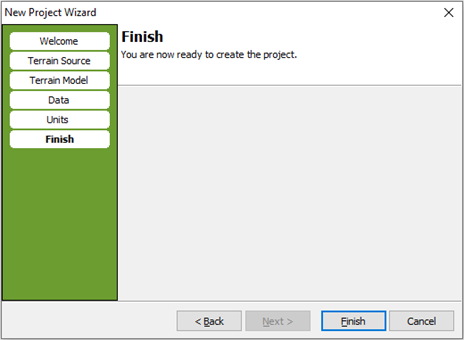
Step 6.
Step 7. Result
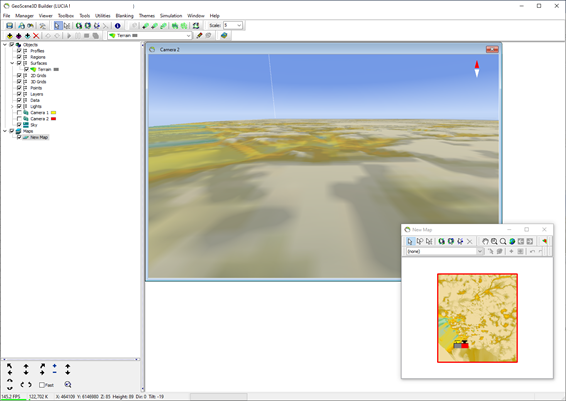
You have now successfully created a new GeoScene3D project.
The project now contains a terrain model, two cameras, three light sources, a background sky dome, and a map window containing the terrain model grid.
Note that the terrain model has been placed in the group named “Surfaces”. The project also contains group nodes for Profiles, Regions, 2D Grids, 3D Grids, Points, Layers, Data and Lights. Do not delete these group nodes! When adding data with the “Add Data Wizard” the added objects will be placed in the appropriate nodes automatically.

