Table of Contents
Export to model database wizard (DK users)
This will guide you exporting your data to a Acces or Firebird database in a Model Database Format.
Requirements
Data
All data in the project must be online before export.
Step 1. Export to model database wizard
The wizard exports surfaces, XYZ Points, and profiles to an Access or Firebird database in Model Database Format.
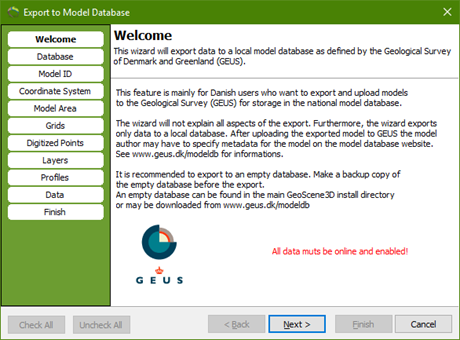
This feature is mainly for Danish users who want to export and upload models to the Geological Survey (GEUS) for storage in the national model database. The wizard exports data to a local database. After uploading the exported model to GEUS the model author must specify metadata for the model on the model database website. See www.geus.dk/modeldb for information.
It is recommended to export to an empty database. Make a backup copy of the empty database before the export. Then, if the export were not as expected it is easy to do a new export to another empty database. An empty database can be found in the main GeoScene3D install directory or may be downloaded from www.geus.dk/modeldb
1. Go to “Files” → “Export” → Export to Model Database”. This open the “Export to Model Database” wizard.
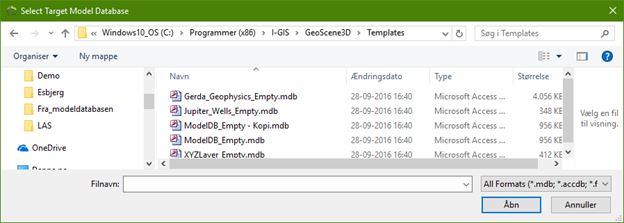
2.Database page. Here you select which database the data should be exported too. There is already a pre-made Access and Firebird database where you can export to. Use the Firebird template if you need to export a big dataset. Make a copy of the database to your working folder. It is extremely important that the database you export to has the right configuration – to be sure it is safe to select one from the template folder.
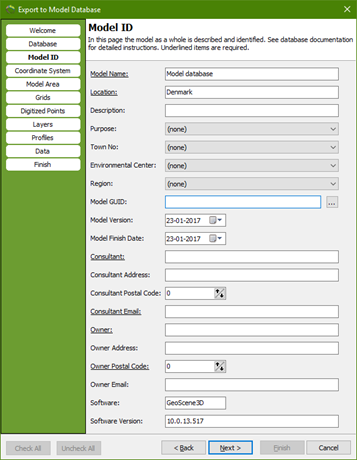
3.Model ID page. Here you need to fill out Model Name and location as a minimum.
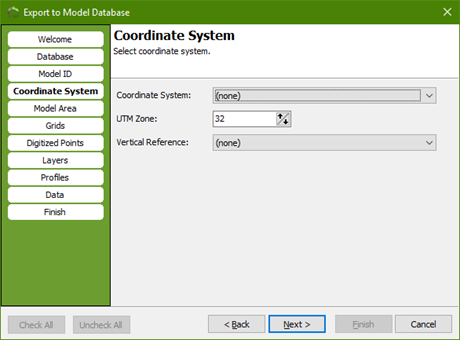
4.Coordinate system page. Set the right UTM zone for the data.
5.Model Area page. Select from which area the data should be exported from.
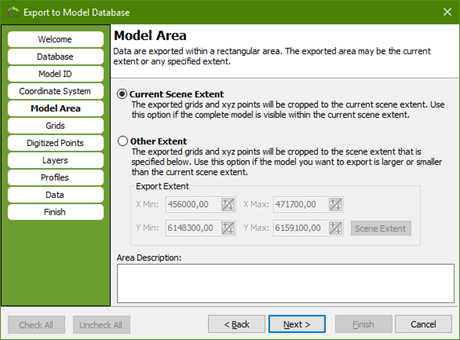
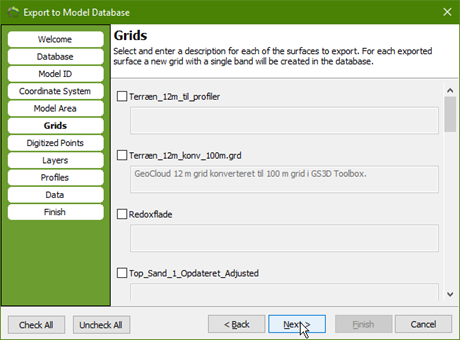
6.Grids page. Here you can select the surfaces you want to export. You can add a description to the surfaces.
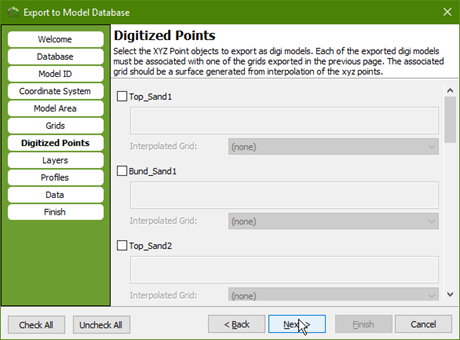
7.Digitized points page. Here you can select which XYZ points there should be exported as digitized models.
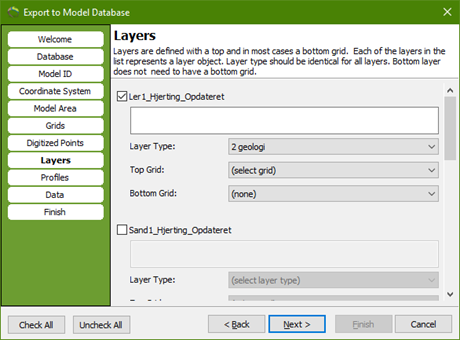
8.Layers page. Select the layers you want to export. You must define a layer type for each layer you select.
9.Profiles page. Select the profiles you want to export.
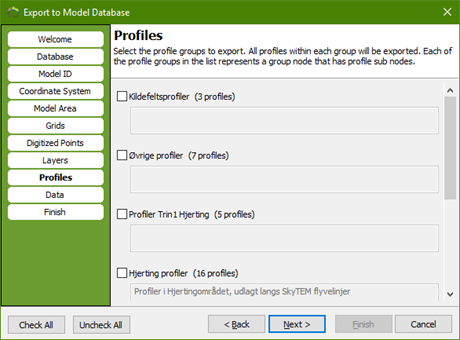
10.Data page. Select the well and geophysical data.
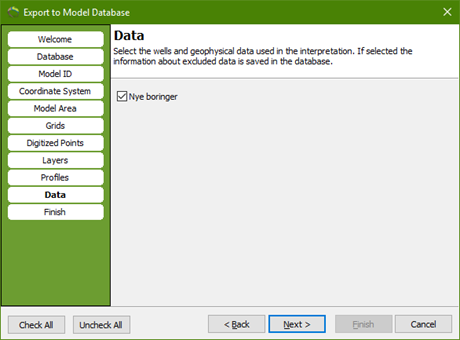
11.Finish page. Press finish to export all the selected data to the FireBird or Access database.
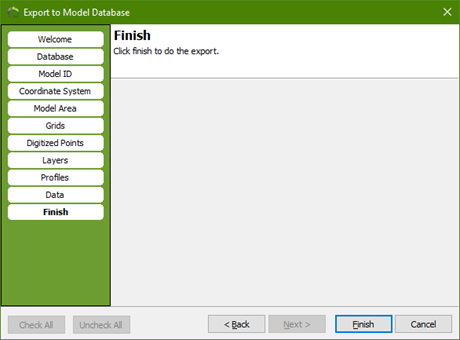
Step 2. Export to files
If you need to move your data or use the data in another program, you can export relevant data to files.
1. Go to “Files” → “Export” → Export to Files…” This open the “Export to Files” wizard.

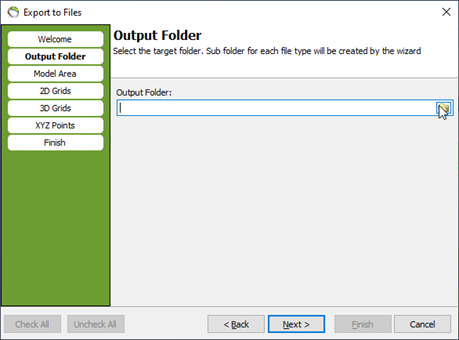
2. Select the target folder in which you want the output. The export wizard will automatically create sub folders for each file type.
3. Model Area page. Select from which area the data should be exported from.
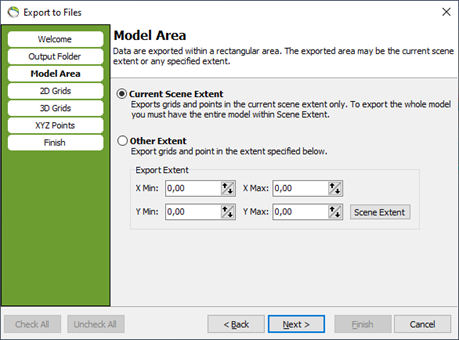
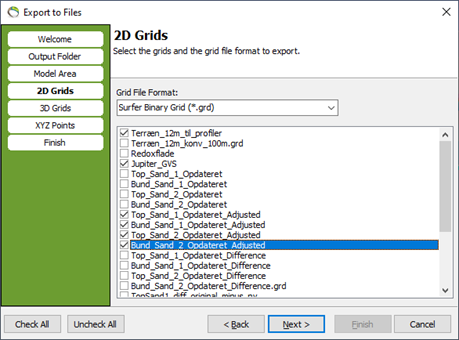
4. 2D Grids page. Here you can select the surface layers you want to export.
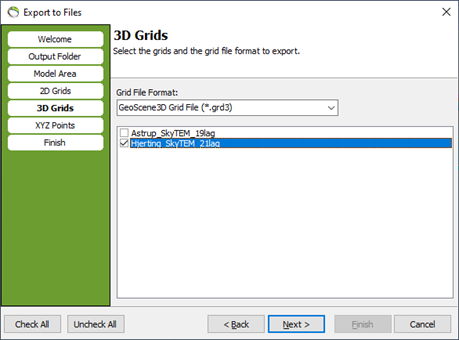
5. 3D Grids page. Here you can select the 3D grids you want to export.
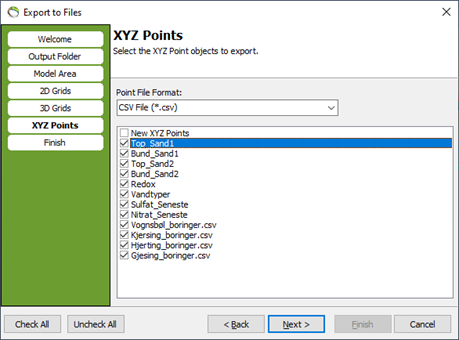
6. XYZ points page. Here you can select which XYZ points there should be exported as digitized models.
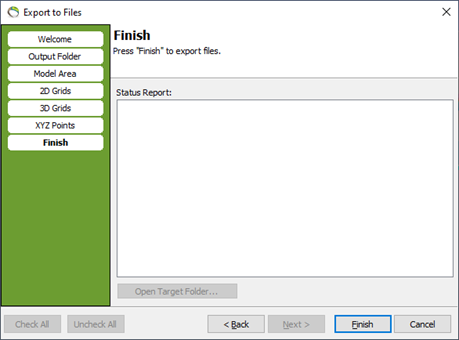
7. The finish page. Press finish to export all the selected data to files. When finished exporting, you can see the status in the status report. Open the target folder to check the data. Then press close.
8. Result. You now have subfolders with your exported data.

Step 3. Export Data References
You can export a list (.txt) of all data in your project. It includes all the sources from the “Source Manager”, and all objects from the object tree including maps.
Please notice; The list of data is in Danish.
Step 4. Export Objects to Files
By right-clicking on an object in the object tree, choosing “Export” and “Export Object to File..”, you can export any object in the object tree to a GeoScene3D object (.gsobj). These files can be imported to a new GeoScene3D project.